By now you might know that besides being a photographer, I’m also a crochet designer. For about five years I created crochet patterns of hats and newborn sets. I also sold Halloween costumes. My most popular to date were my Minion tutus. They became so popular that in just one year I sold about 5o for Halloween!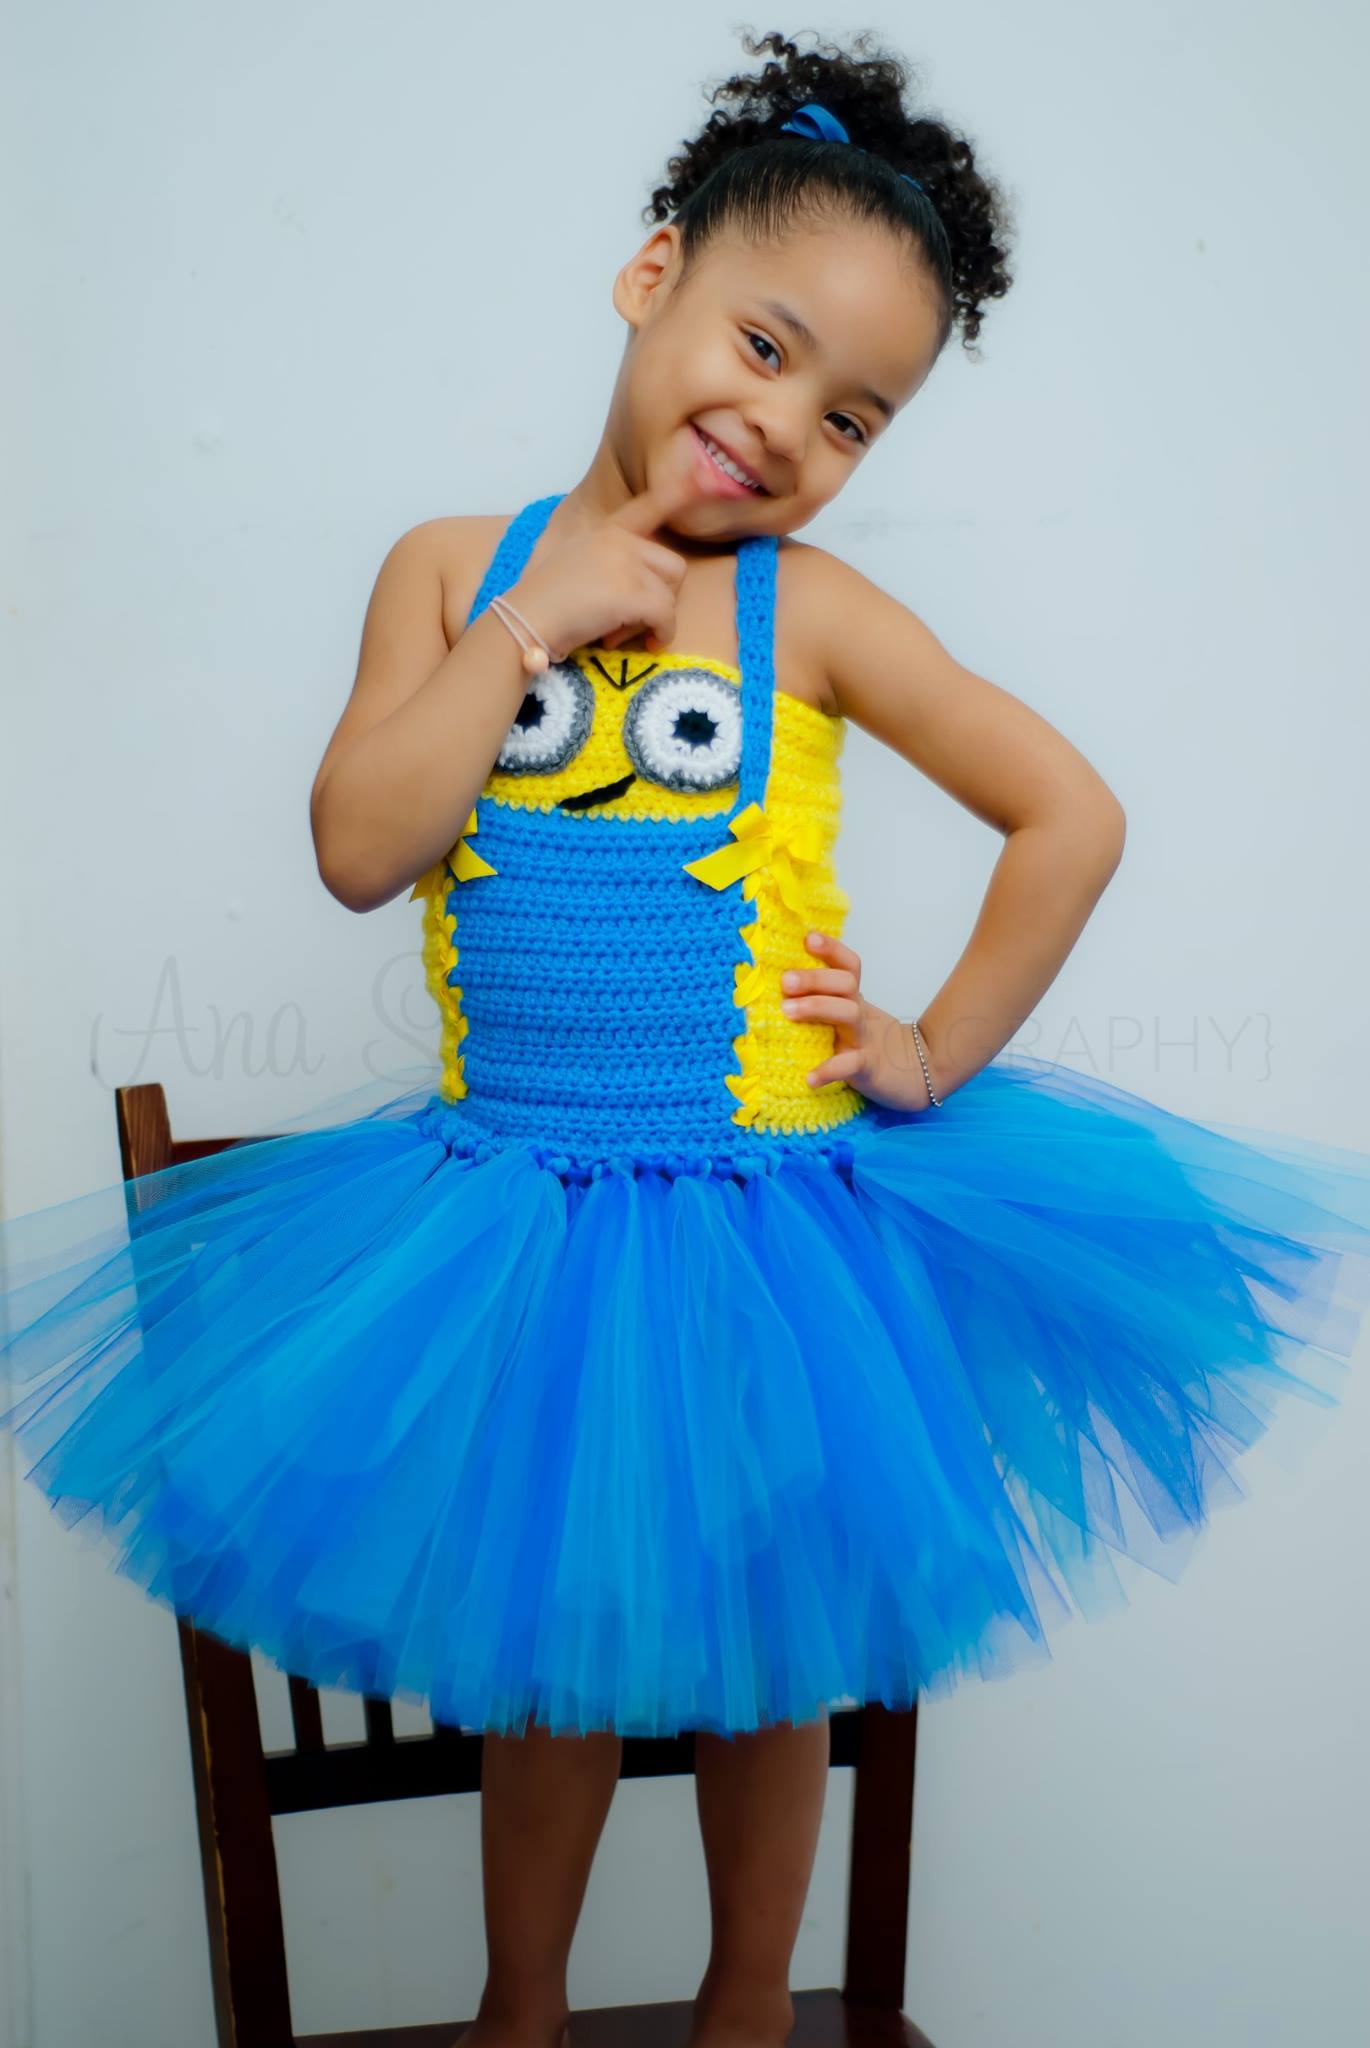
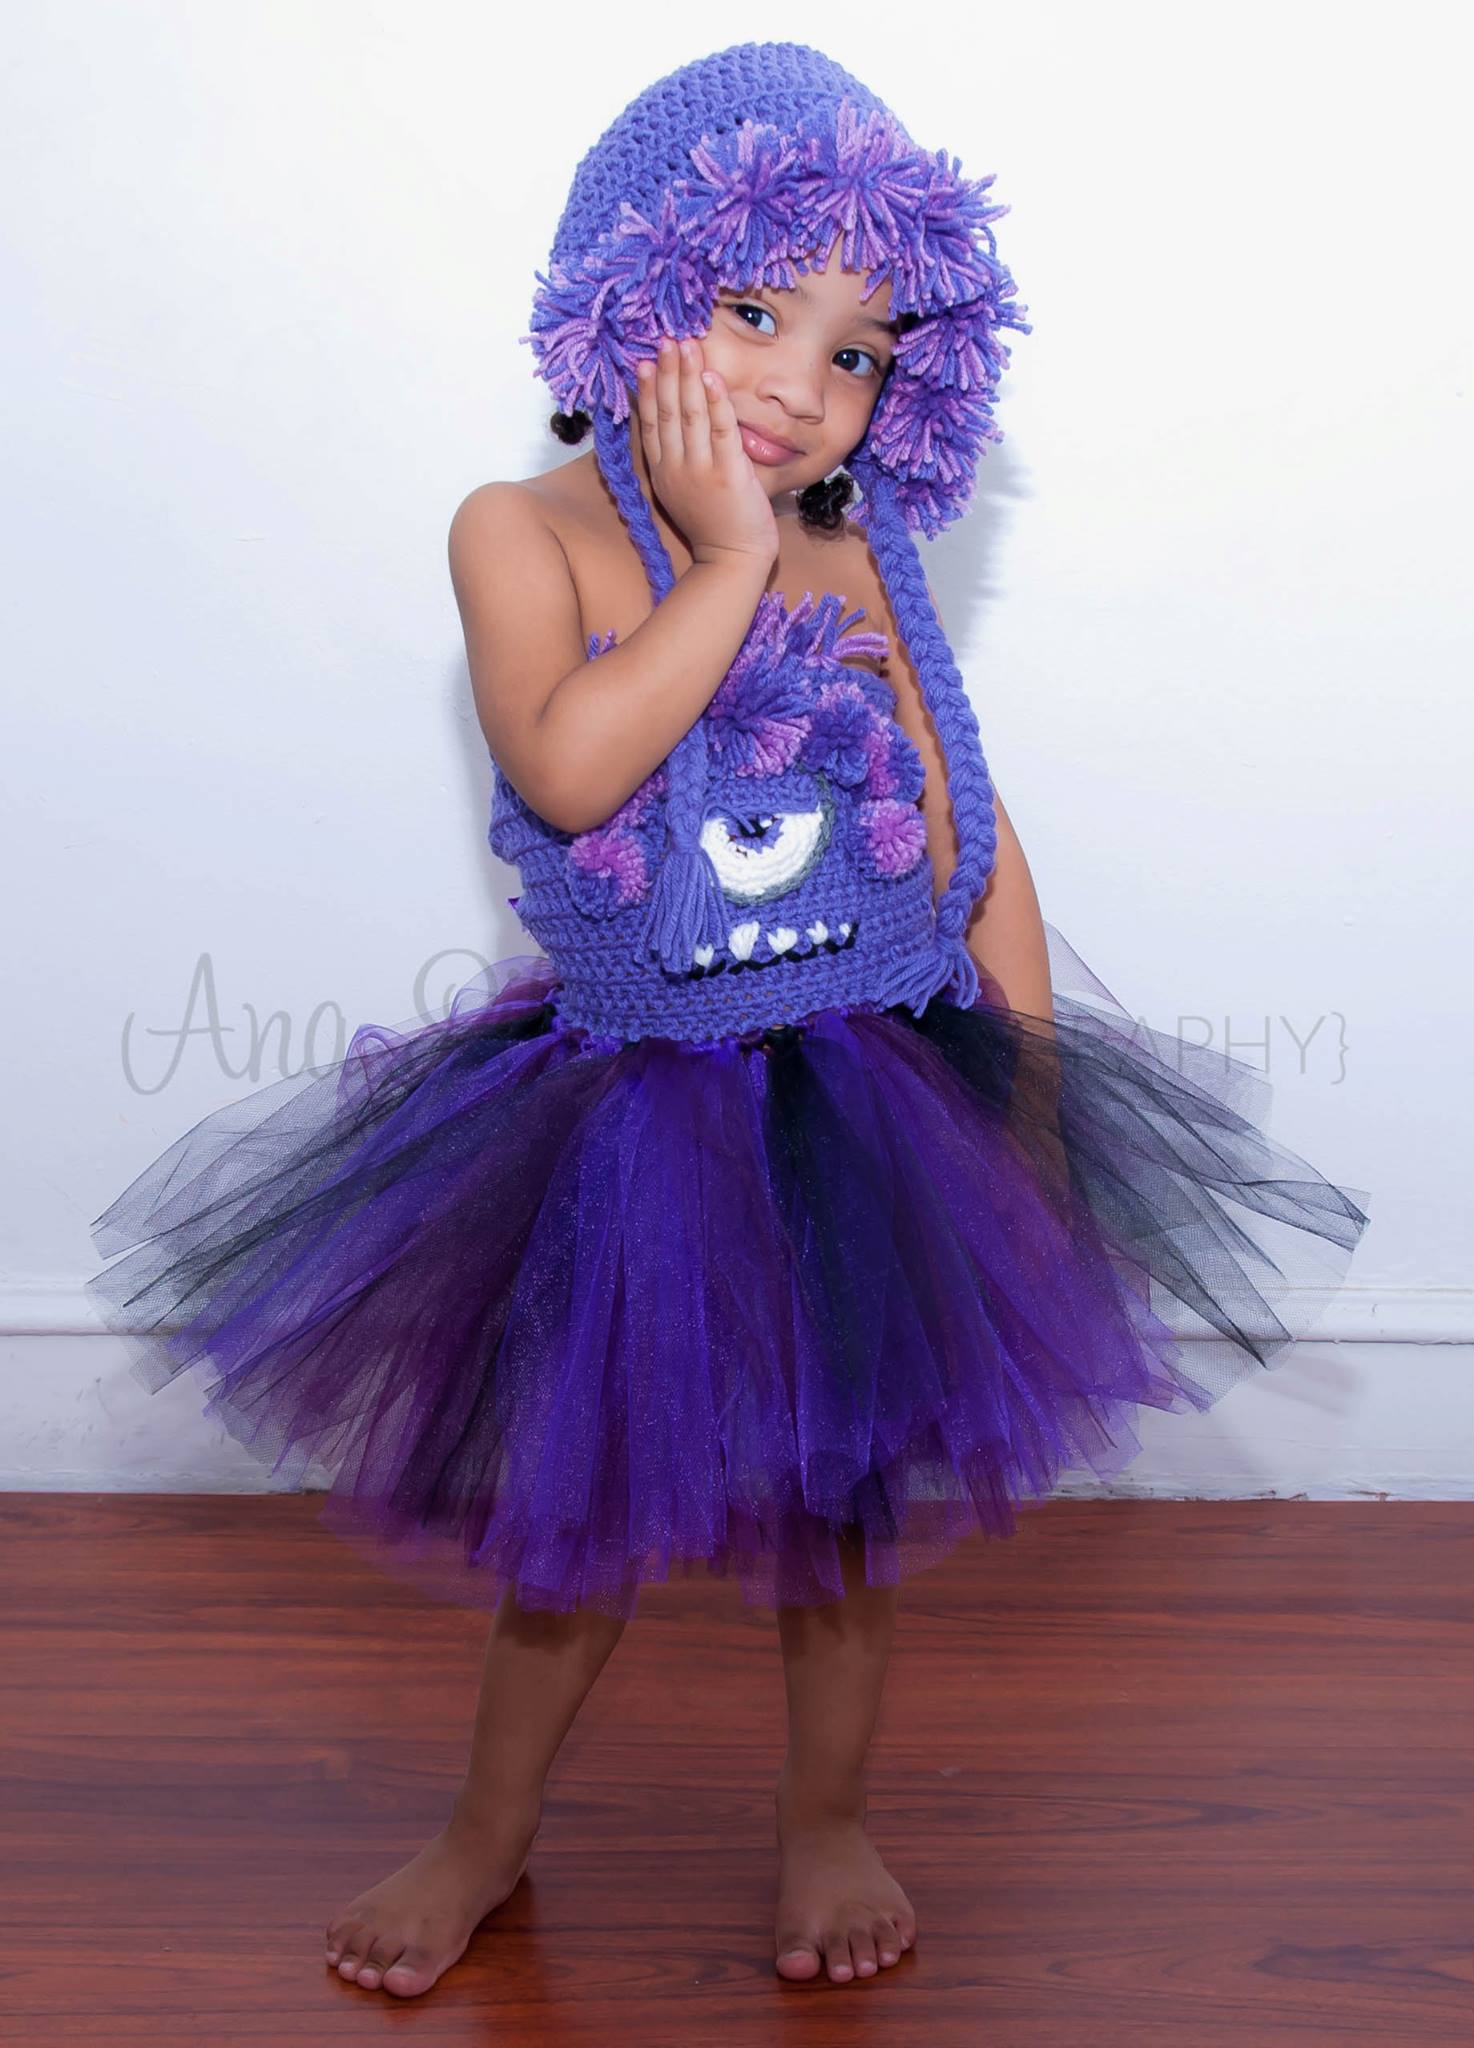
 It went on for two straight years and though it was profitable, it also became overwhelming and very, very tiring. So despite the success, I had to call it quits and just design regular patterns.
Eventually, I gave up crochet altogether and just do it for my own pleasure and leisure. My patterns are still available for sale here and here.
But right now my focus is photography and sewing.
Yep. Sewing. For the longest time I’ve been wanting to learn how to sew. I figured hey, I know how to knit and crochet; I want to learn how to sew as well. That would make it so much easier to come up with a wardrobe for my sessions.
So, for my birthday my husband bought me a sewing machine. Mind you, I’ve never taken sewing classes but I’m not one to just sit back and not try things just because I’ve never taken classes!
As a matter of fact, I’m self taught in everything I do: photography, knitting, crocheting and now sewing. YouTube is your friend!
When I first learn to knit and crochet, YouTube wasn’t around so I learned with books(it’s very hard to learn with books because they don’t explain step by step). So yeah, I learned the hard way, lol.
My thought was that sewing shouldn’t be hard. After all, I’m very good with visuals which is what helped me create my crochet designs. I was able to come up with a pattern just by looking at something. The hardest part was converting that into stitches and having someone read it, haha.
But it has paid off. My ability to visualize an idea and making it into a dress has been pretty easy. Of course, don’t expect the dresses to be perfectly lined, cut and sewn because they’re not. My dresses are purposely made as props for sessions but yes, you can wear them out.
They’re just not fancily sewn together and designer approved, lol. I’m not a seamstress nor do I claim to be. I’m simply a girl with a creative knack that wants to try new fun things and photograph them 😀
Since January, I’ve made these dresses and have loved every single one of them. The first image was my very first dress. It came out so beautiful! The next two have traveling around the U.S. and Canada. It has been so much fun seeing different photographers use the same dresses in so many different settings. But that’s a post for another day.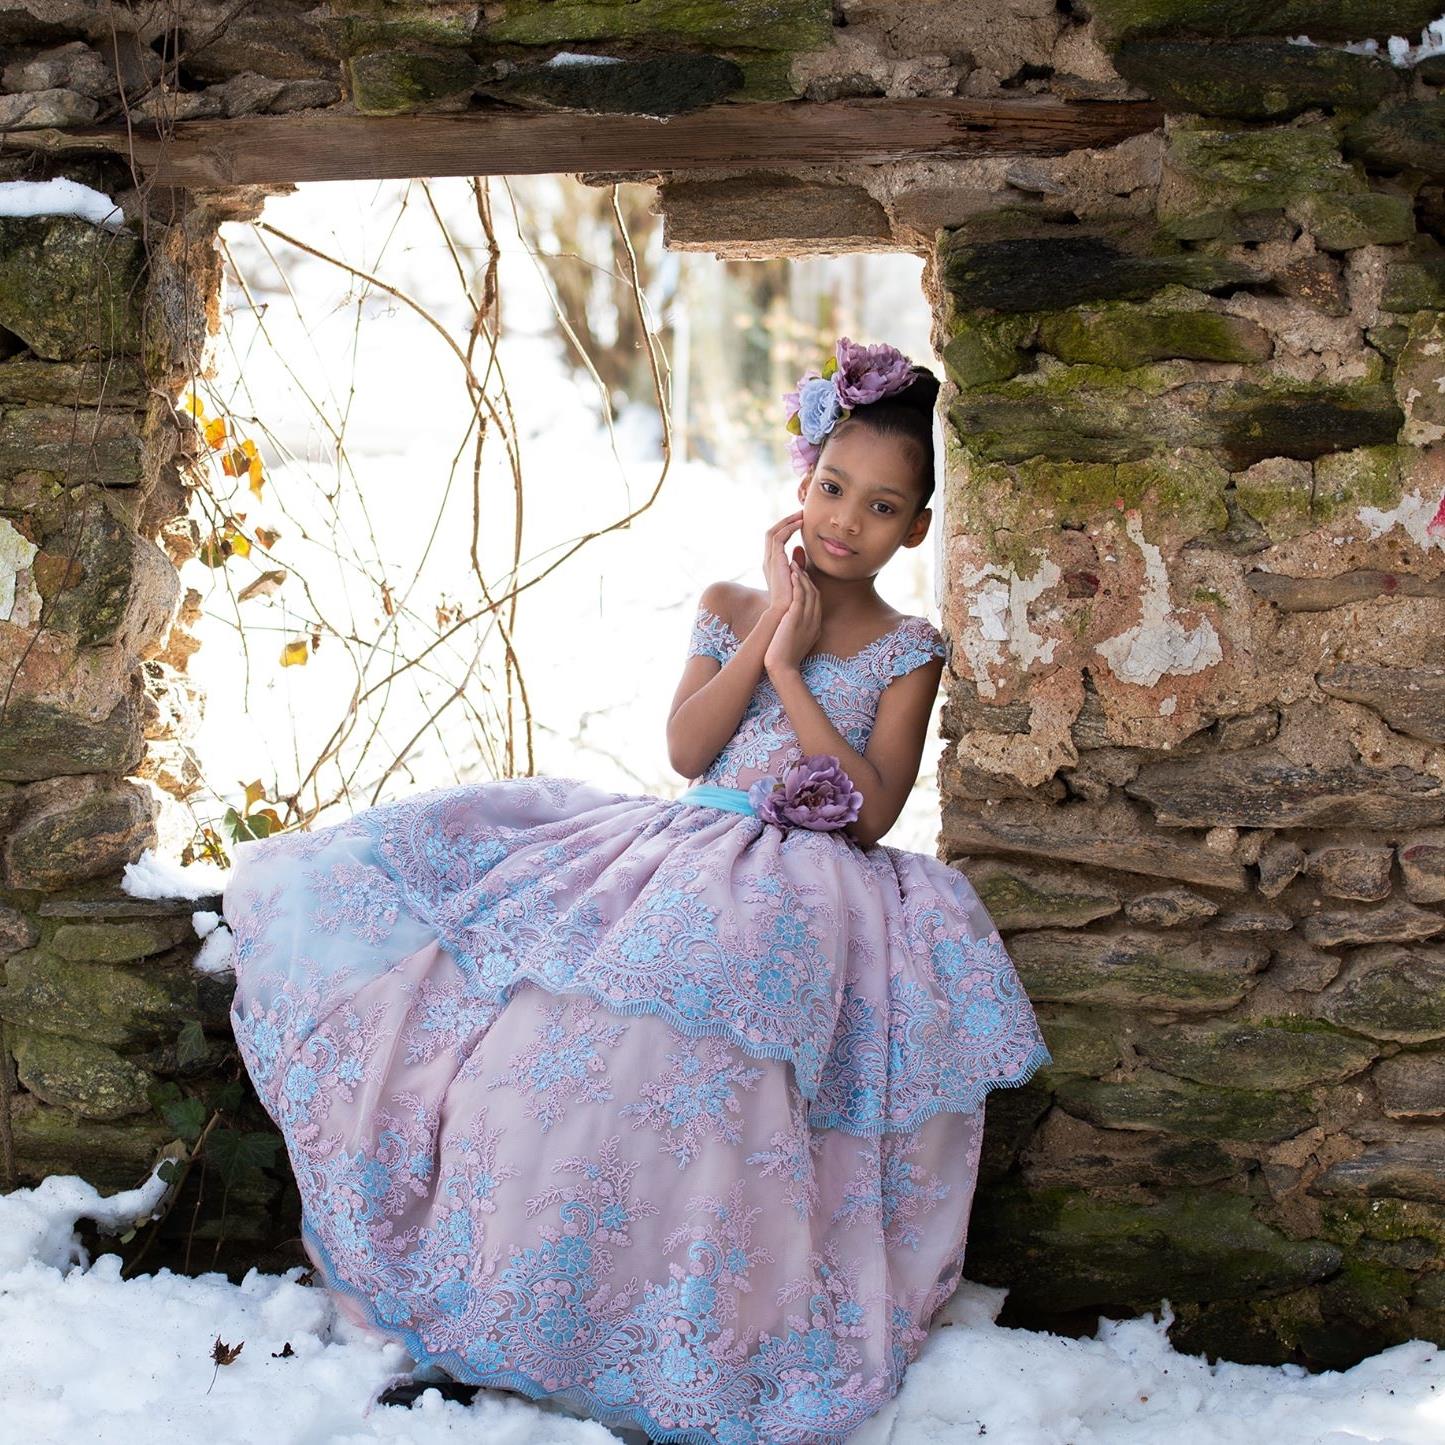
 This post is to share with you how I made this dress so you can make it yourself.
What you’ll need:
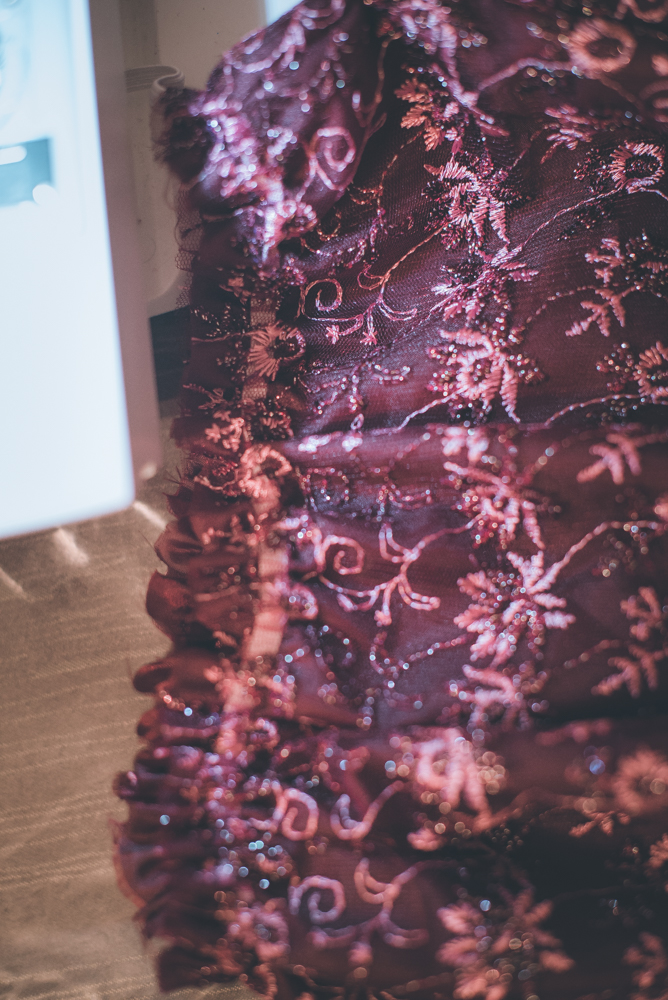
Pretty fabric approximately 3-4yrds
Fabric lining same amount
Elastic
Scissors
Pins
Measuring tape
Matching thread
Sewing needle
Sewing machine
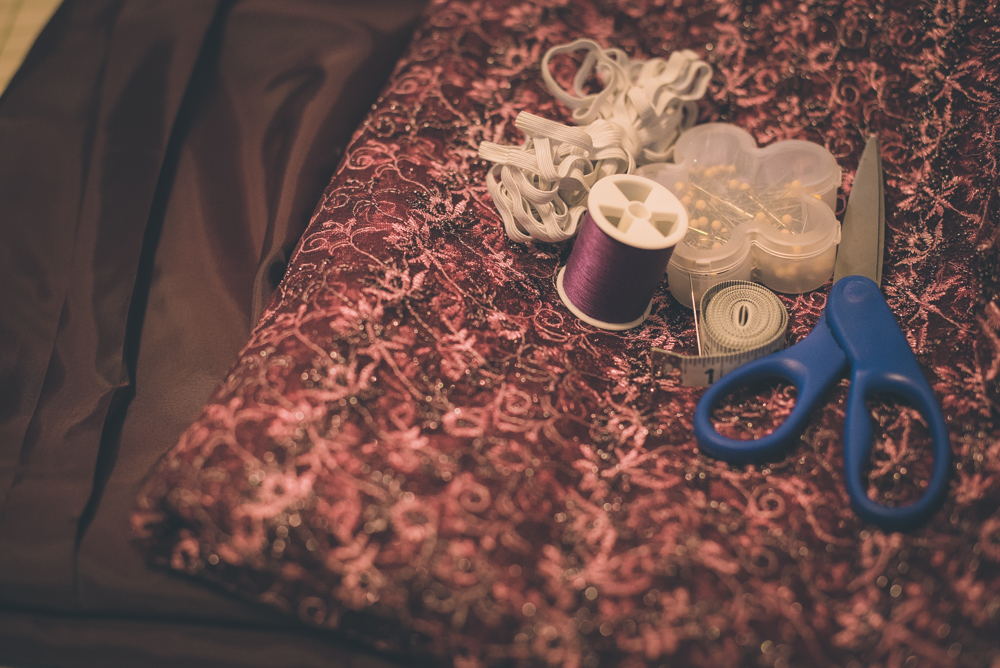

The way I made this dress was by using about three yards for the bottom and about half a yard for the top. I lined both fabrics together and pinned them.
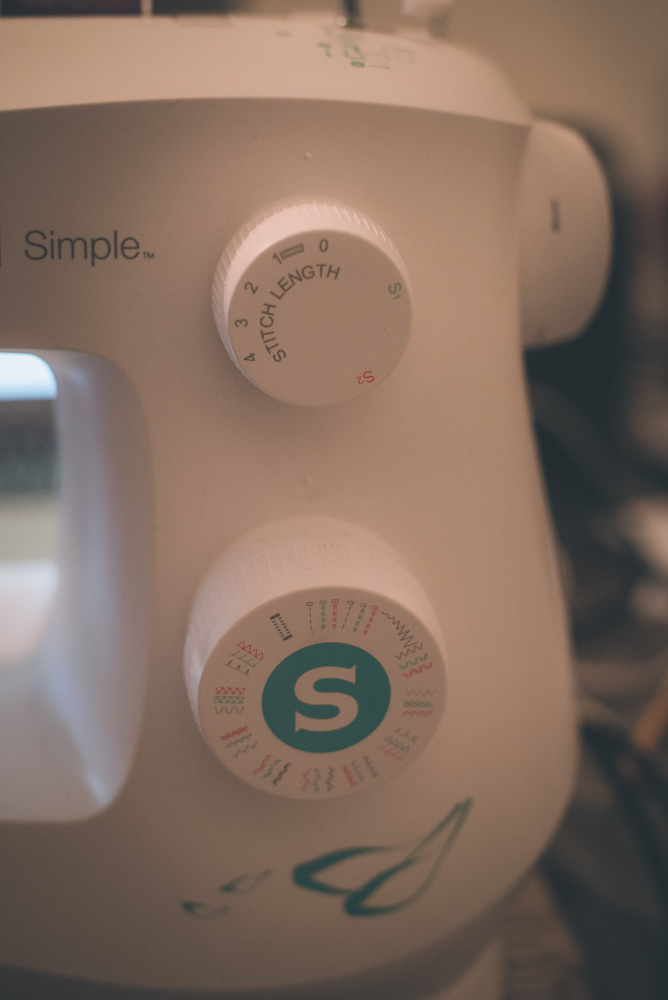
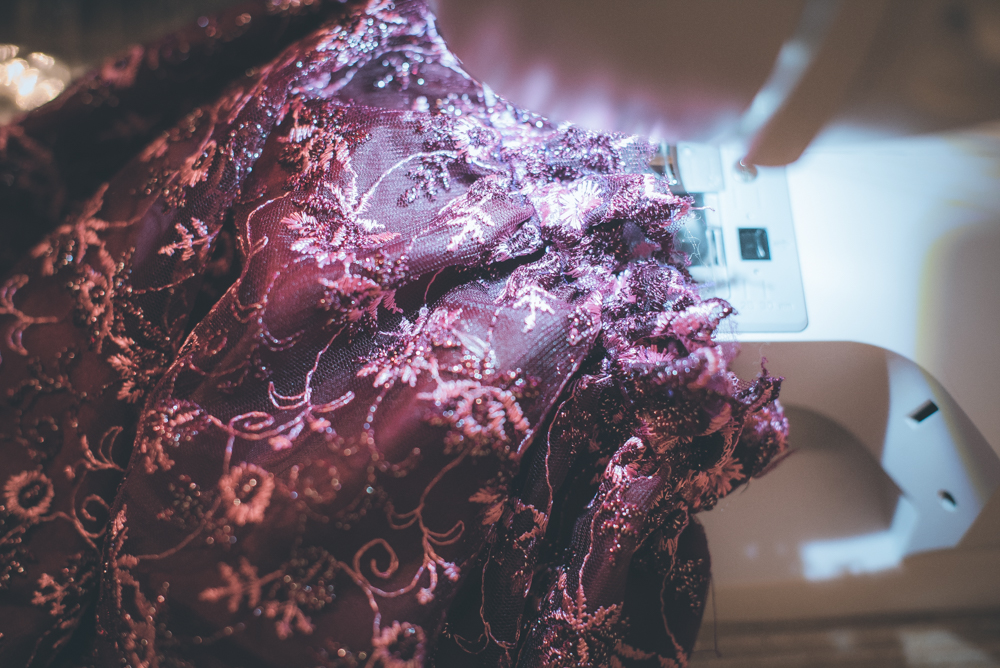
Once the fabrics were pinned together, I proceeded to sew them. I used the most basic stitch to sew two seams leaving space for the elastic. My trick is to leave the elastic ends unsewn and tie them instead. That way it fits multiple sizes 😉
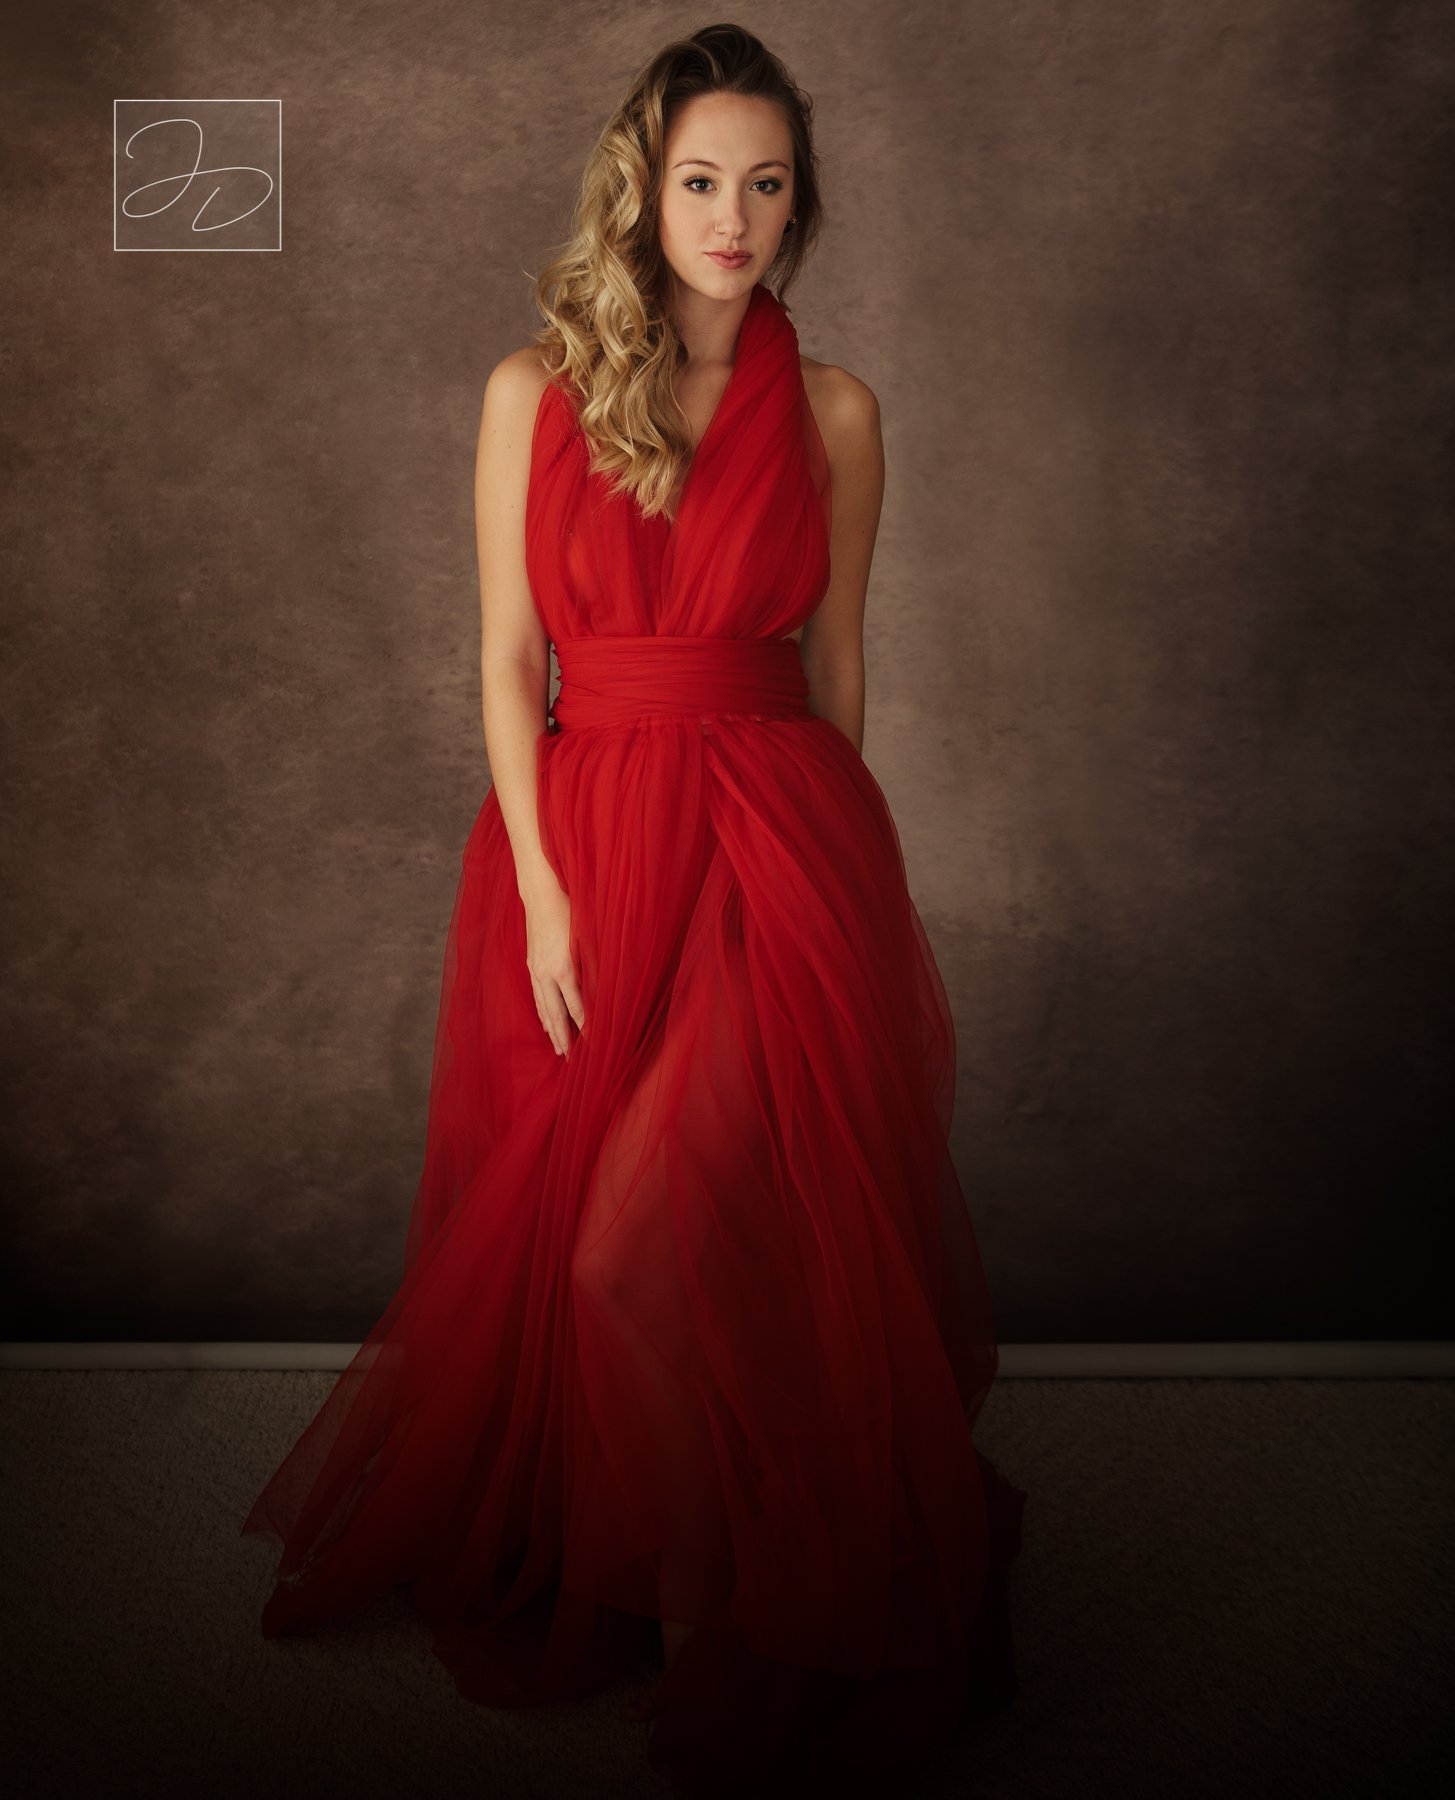
The top is simply a tube top with elastic band on both top and bottom. Be sure to measure your subject’s torso and add a few more inches to make it bunch up.
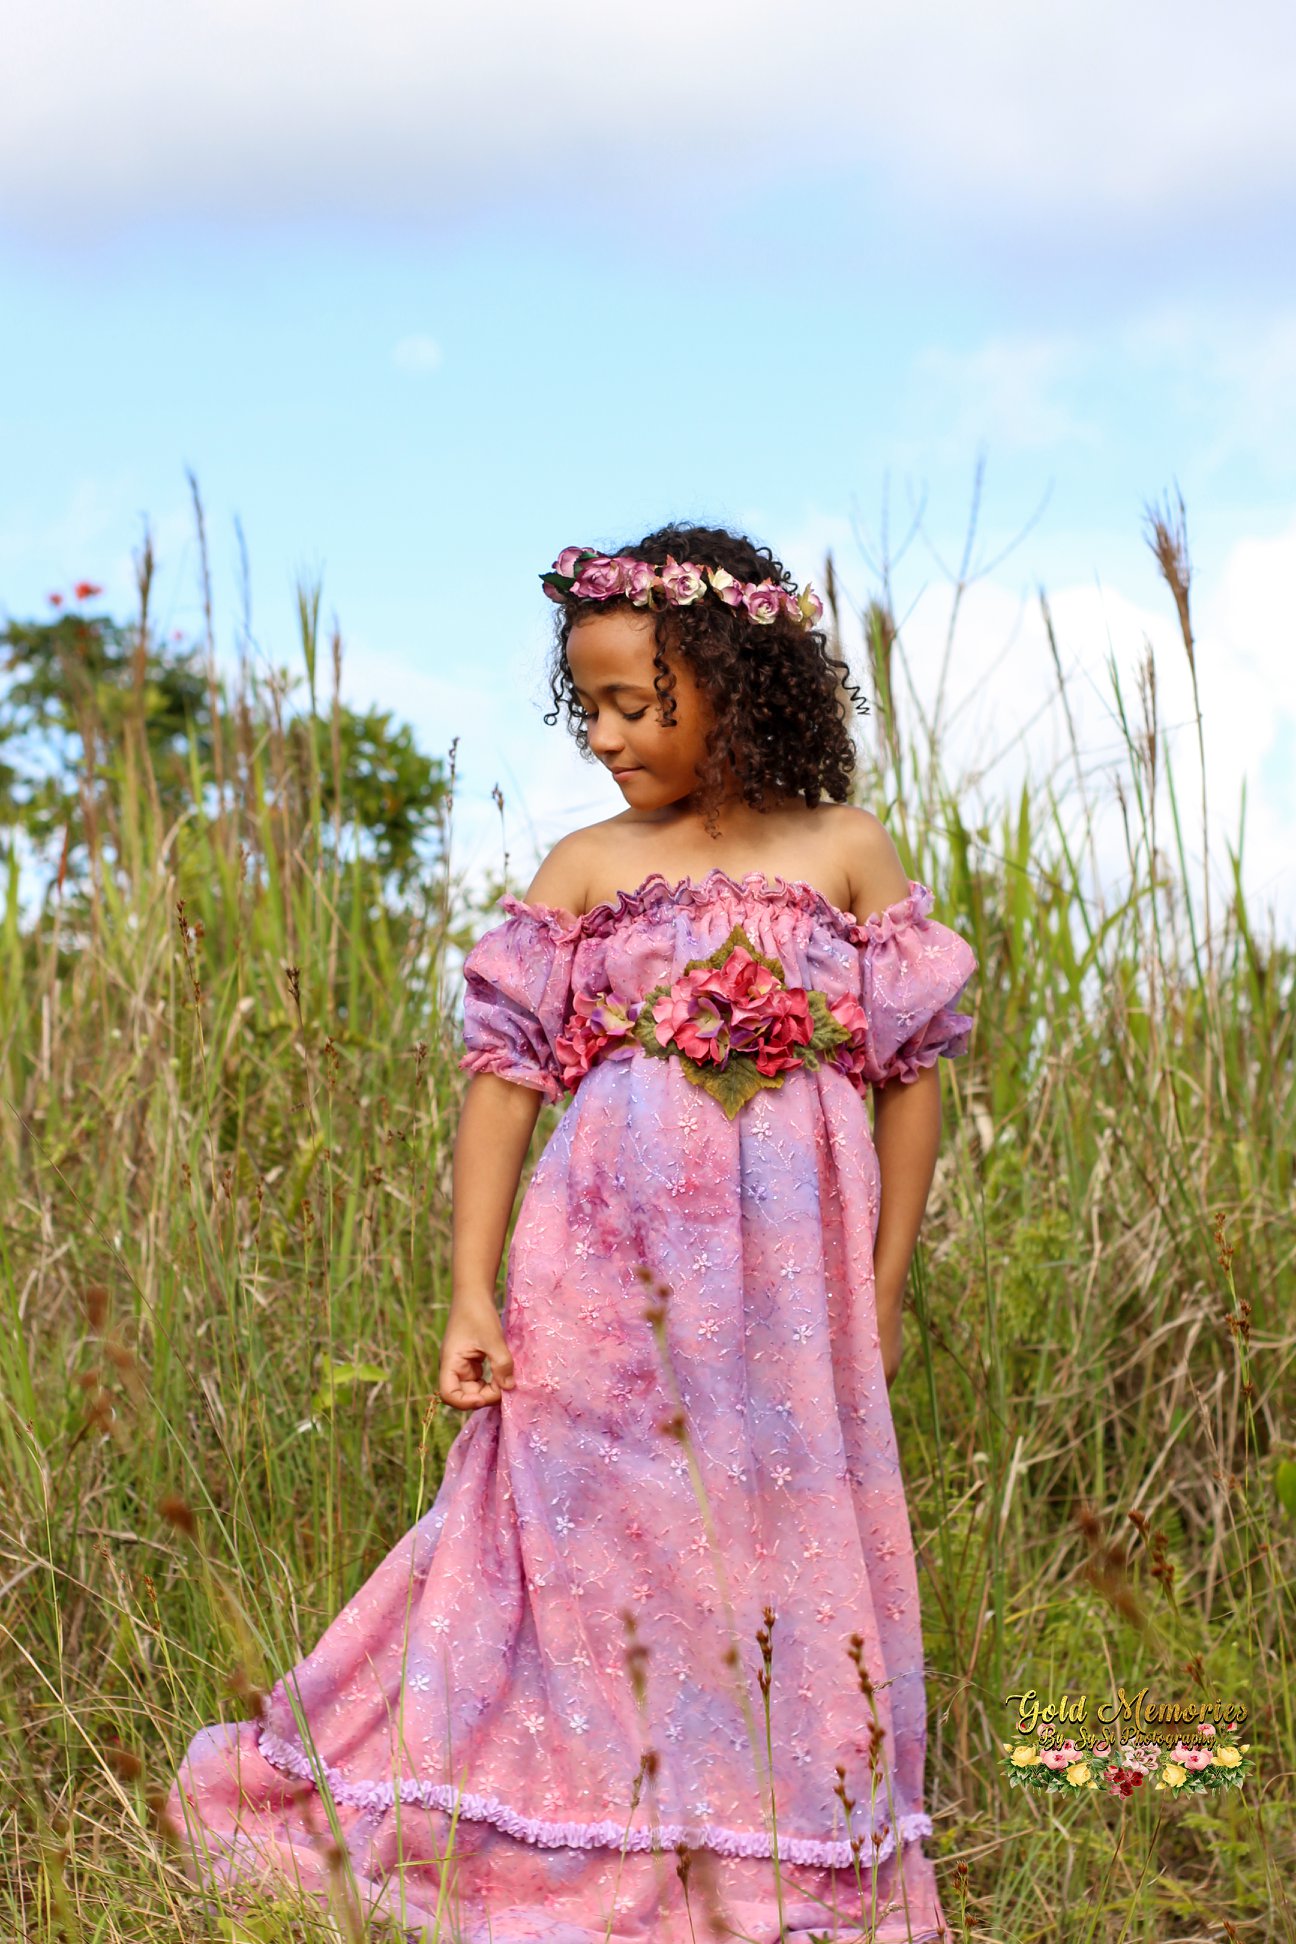
The final results are just stunning! If you want to hide the crunched up waist, you can simply use some fabric to make a belt over it. It works both ways. 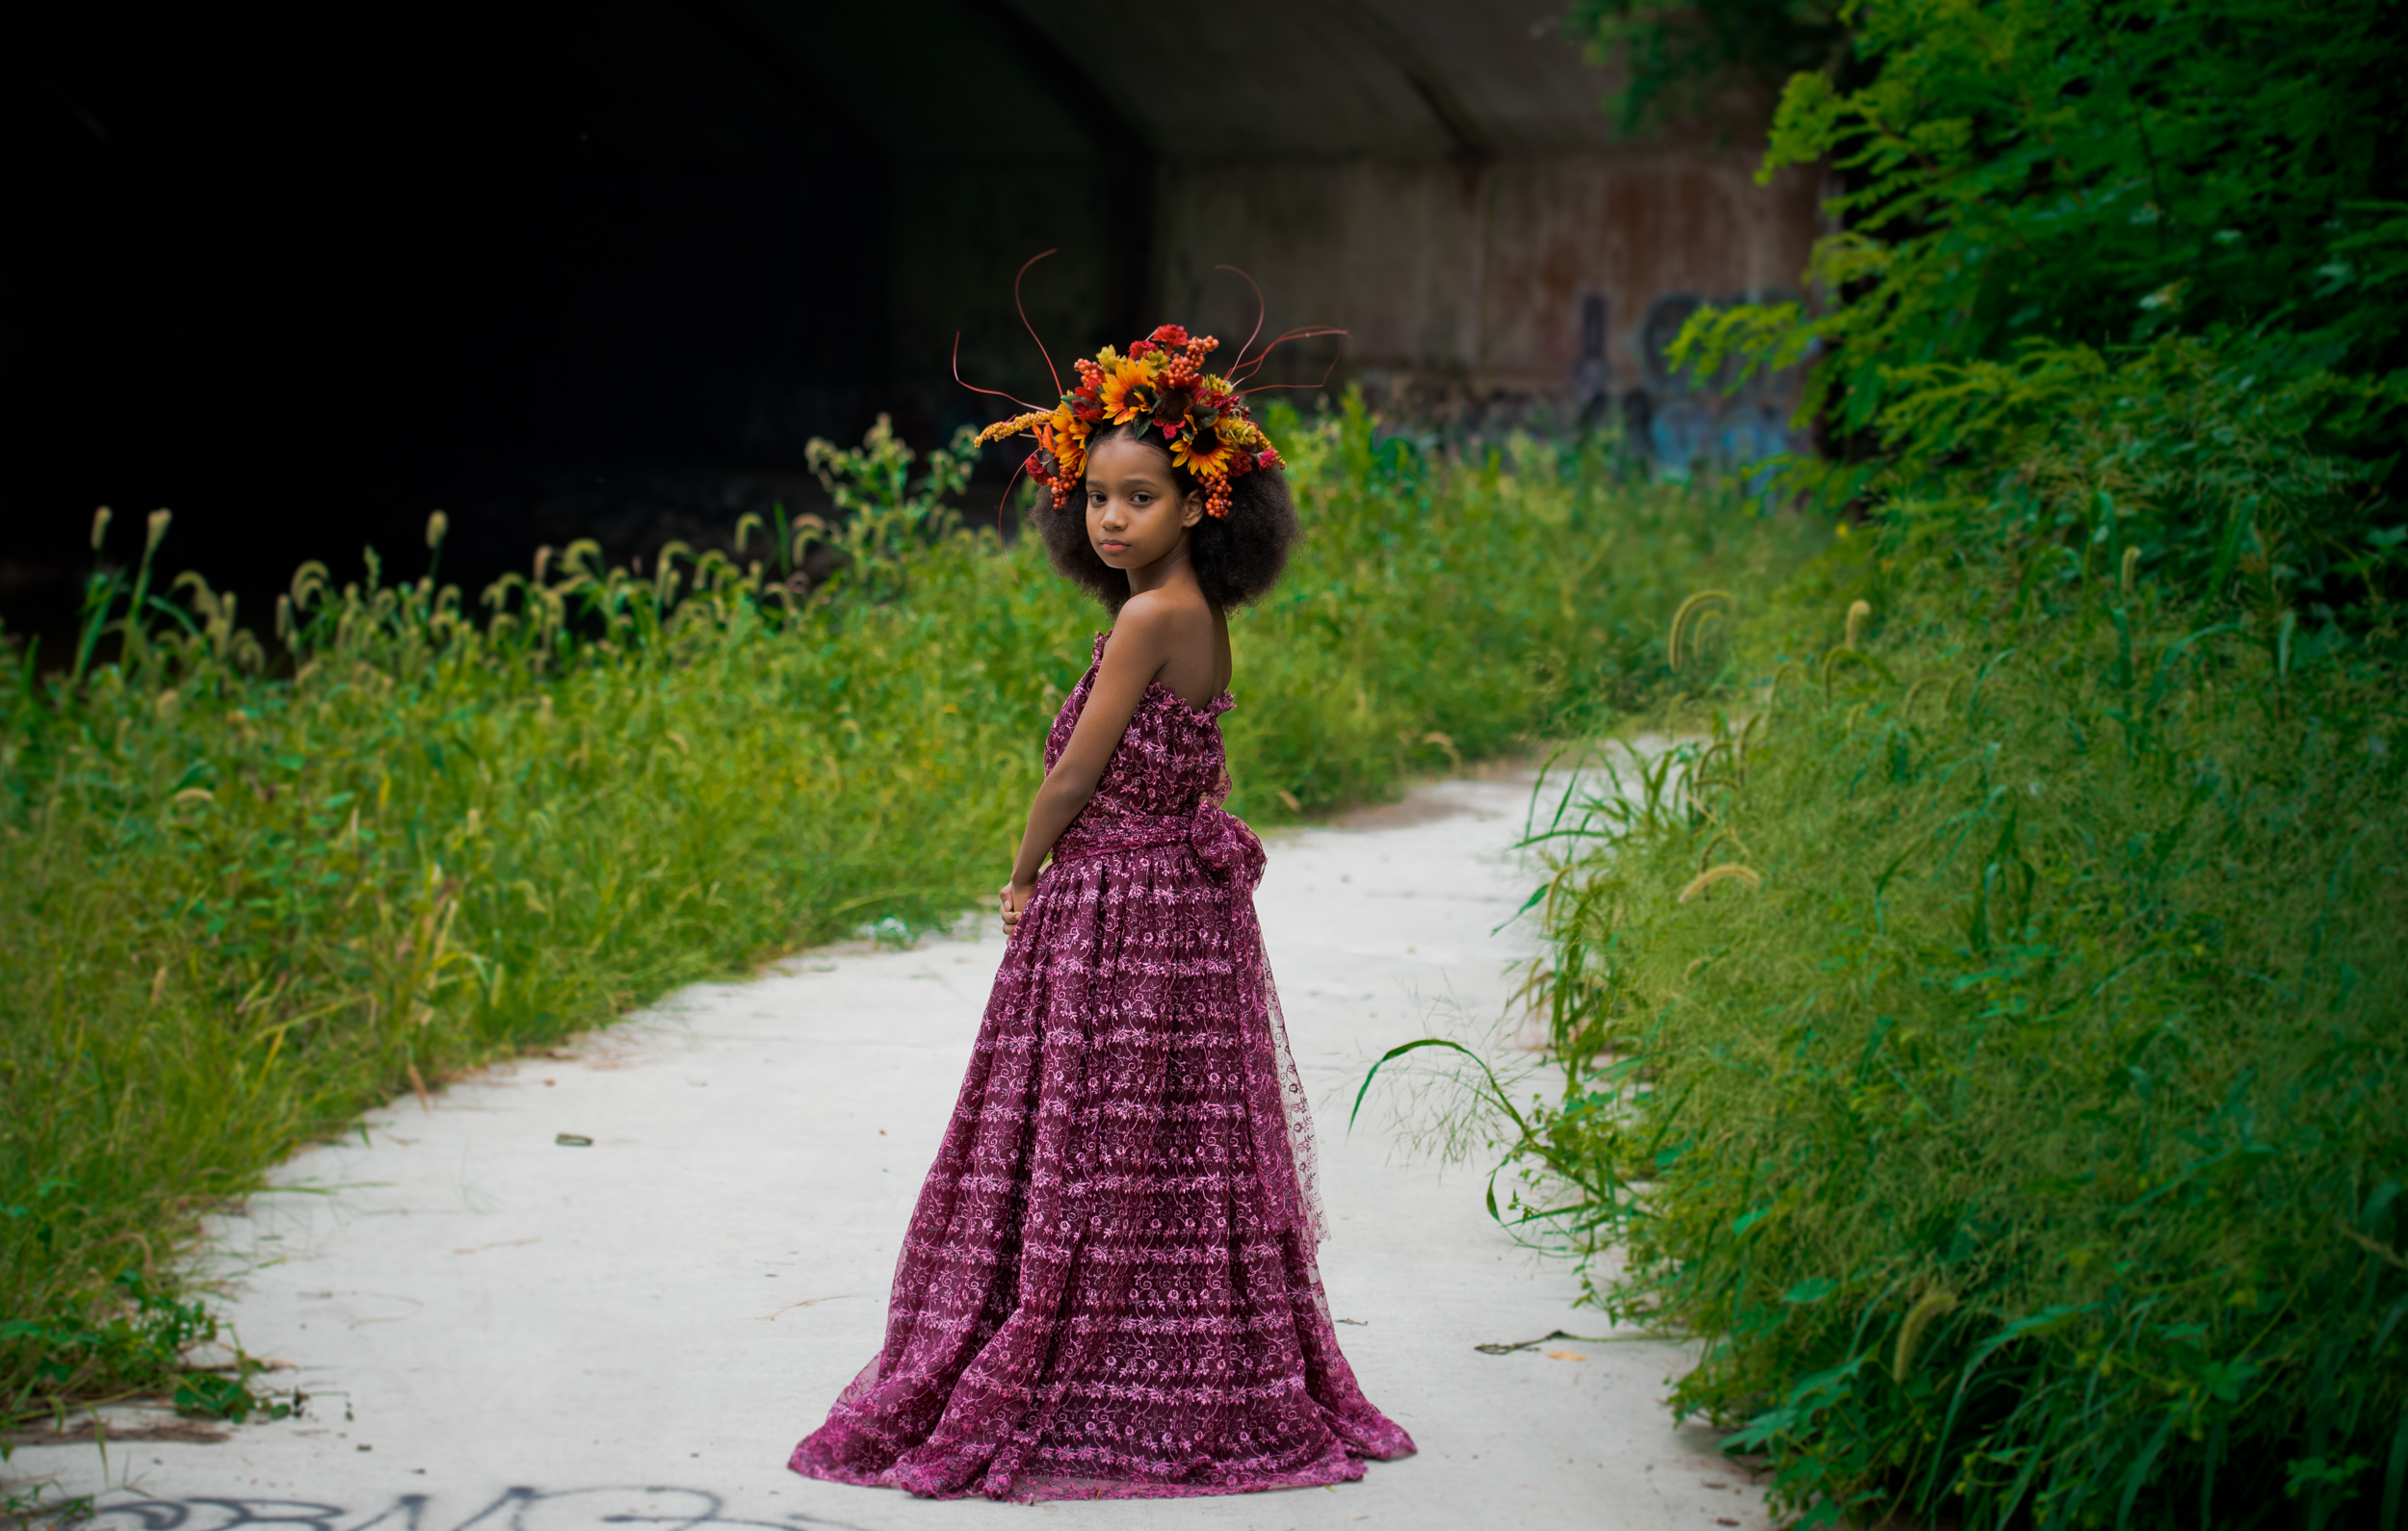

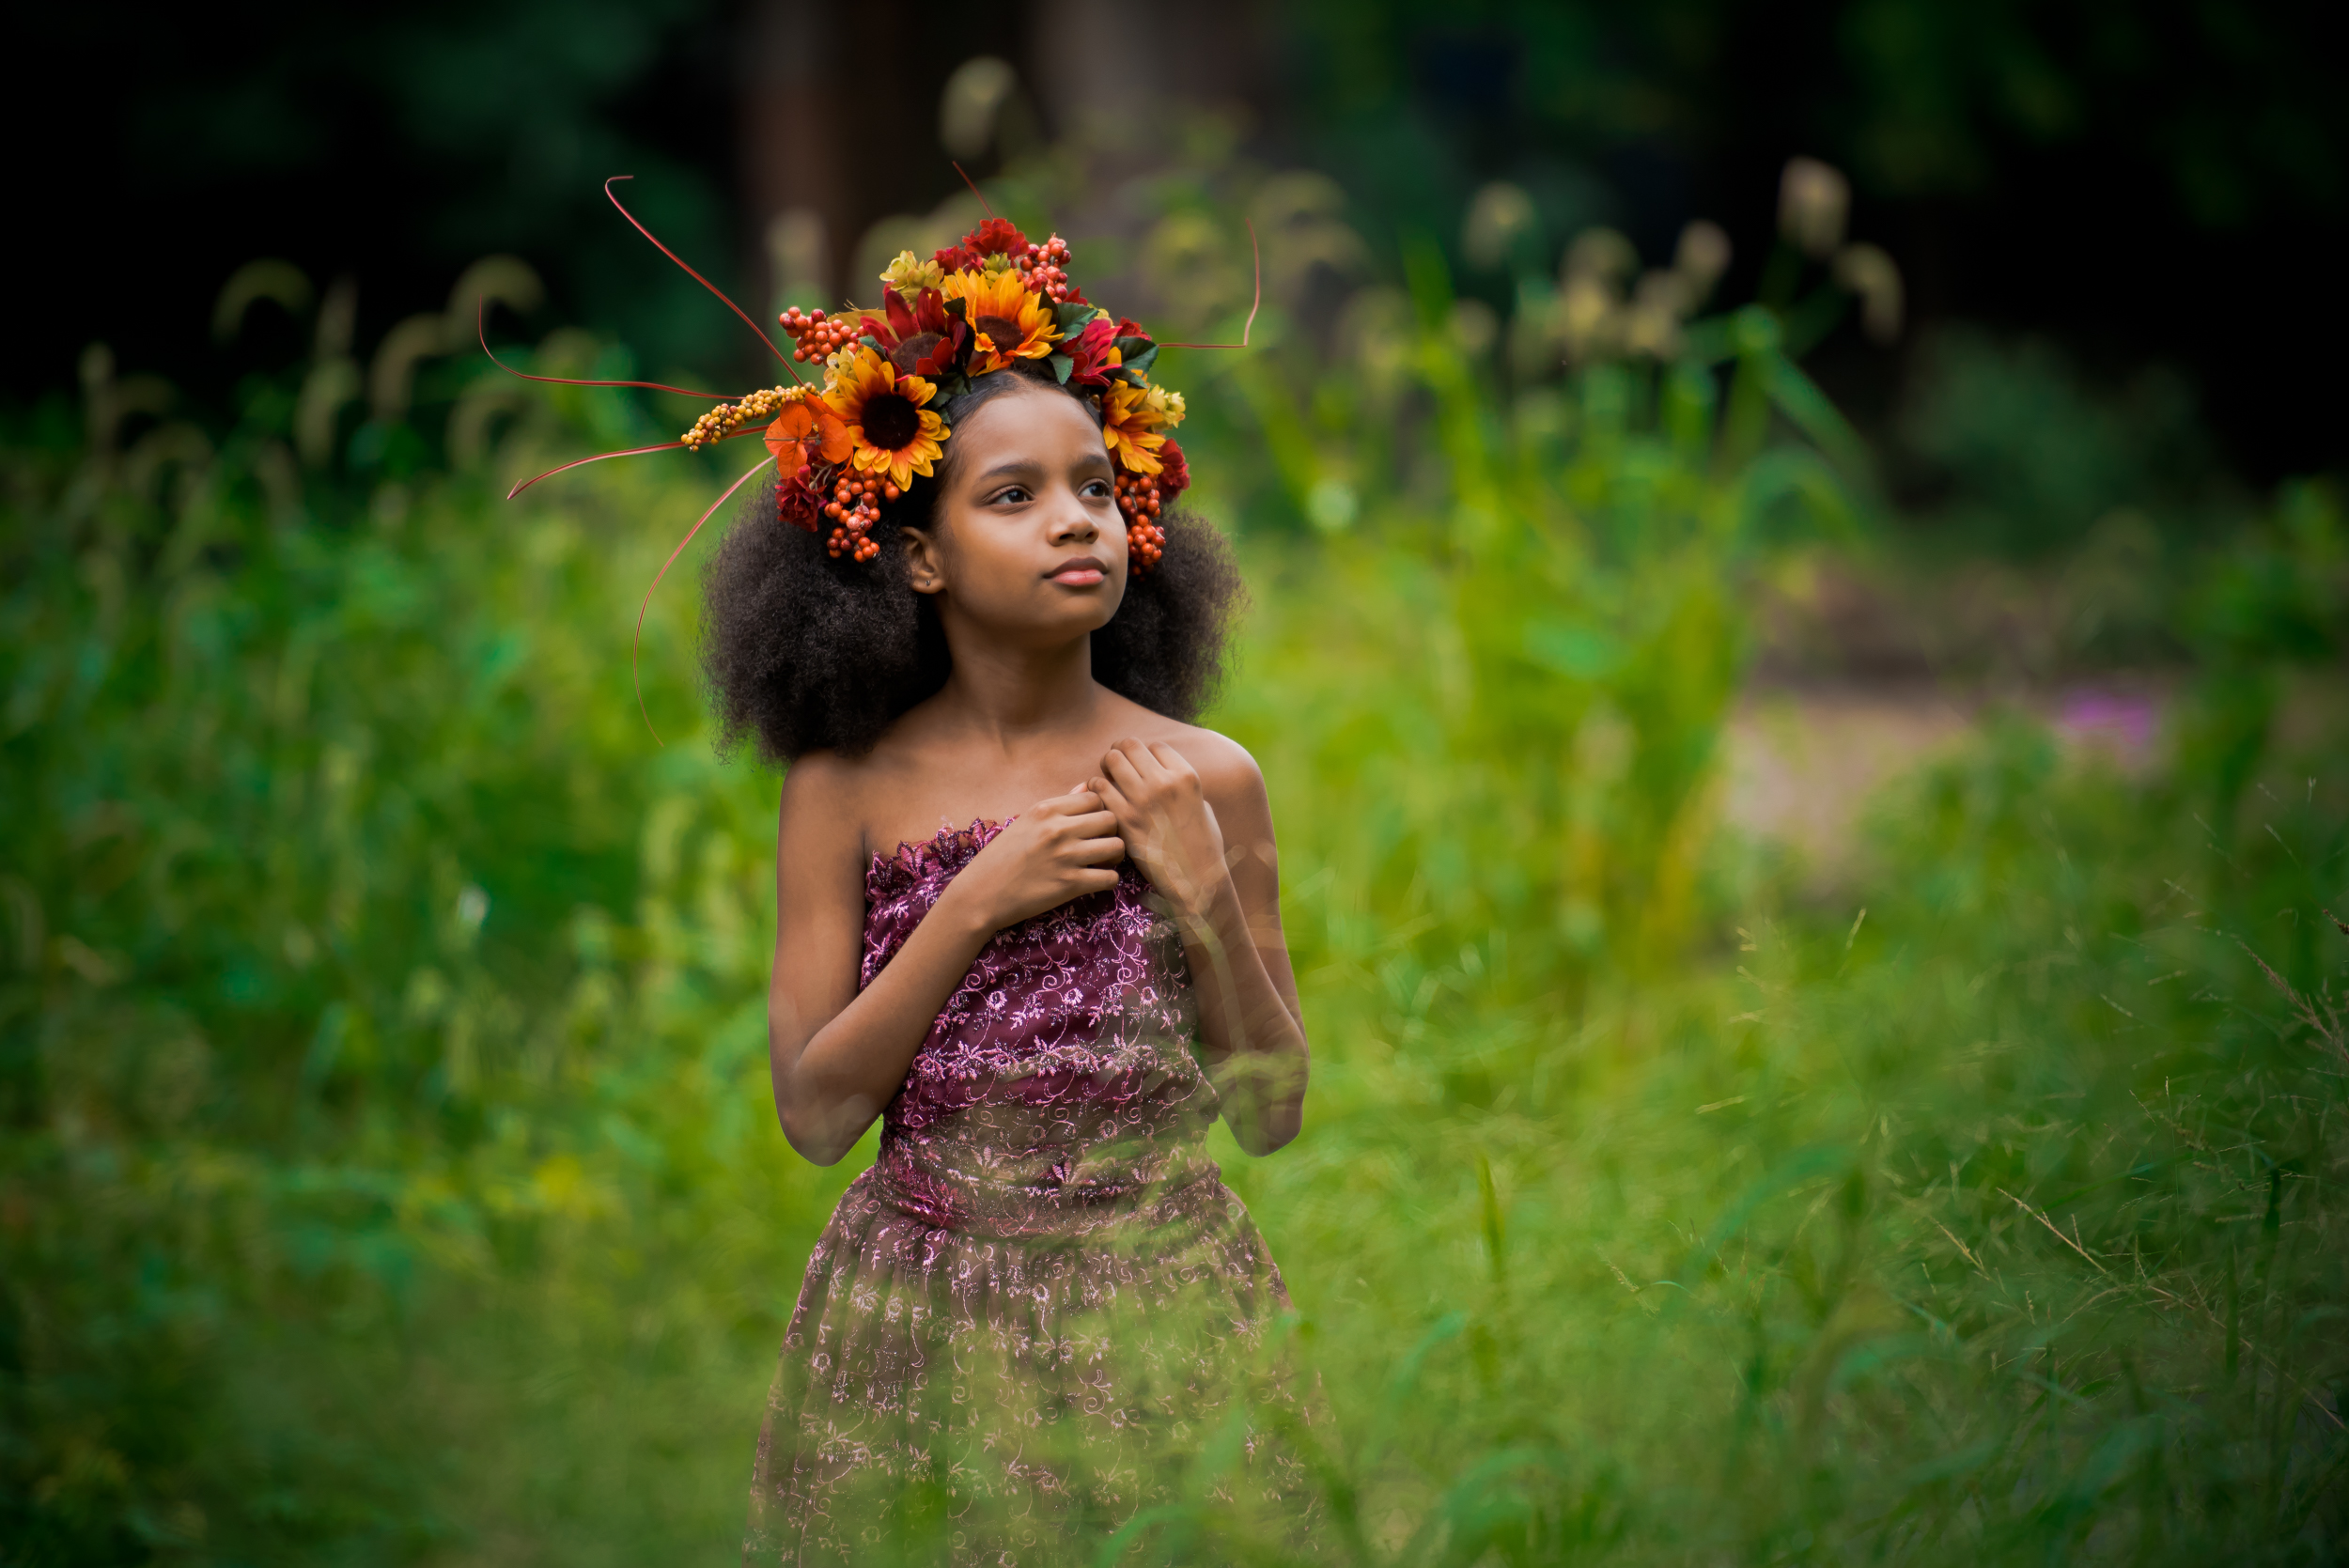
You can also use tulle and a crown to accessorize! 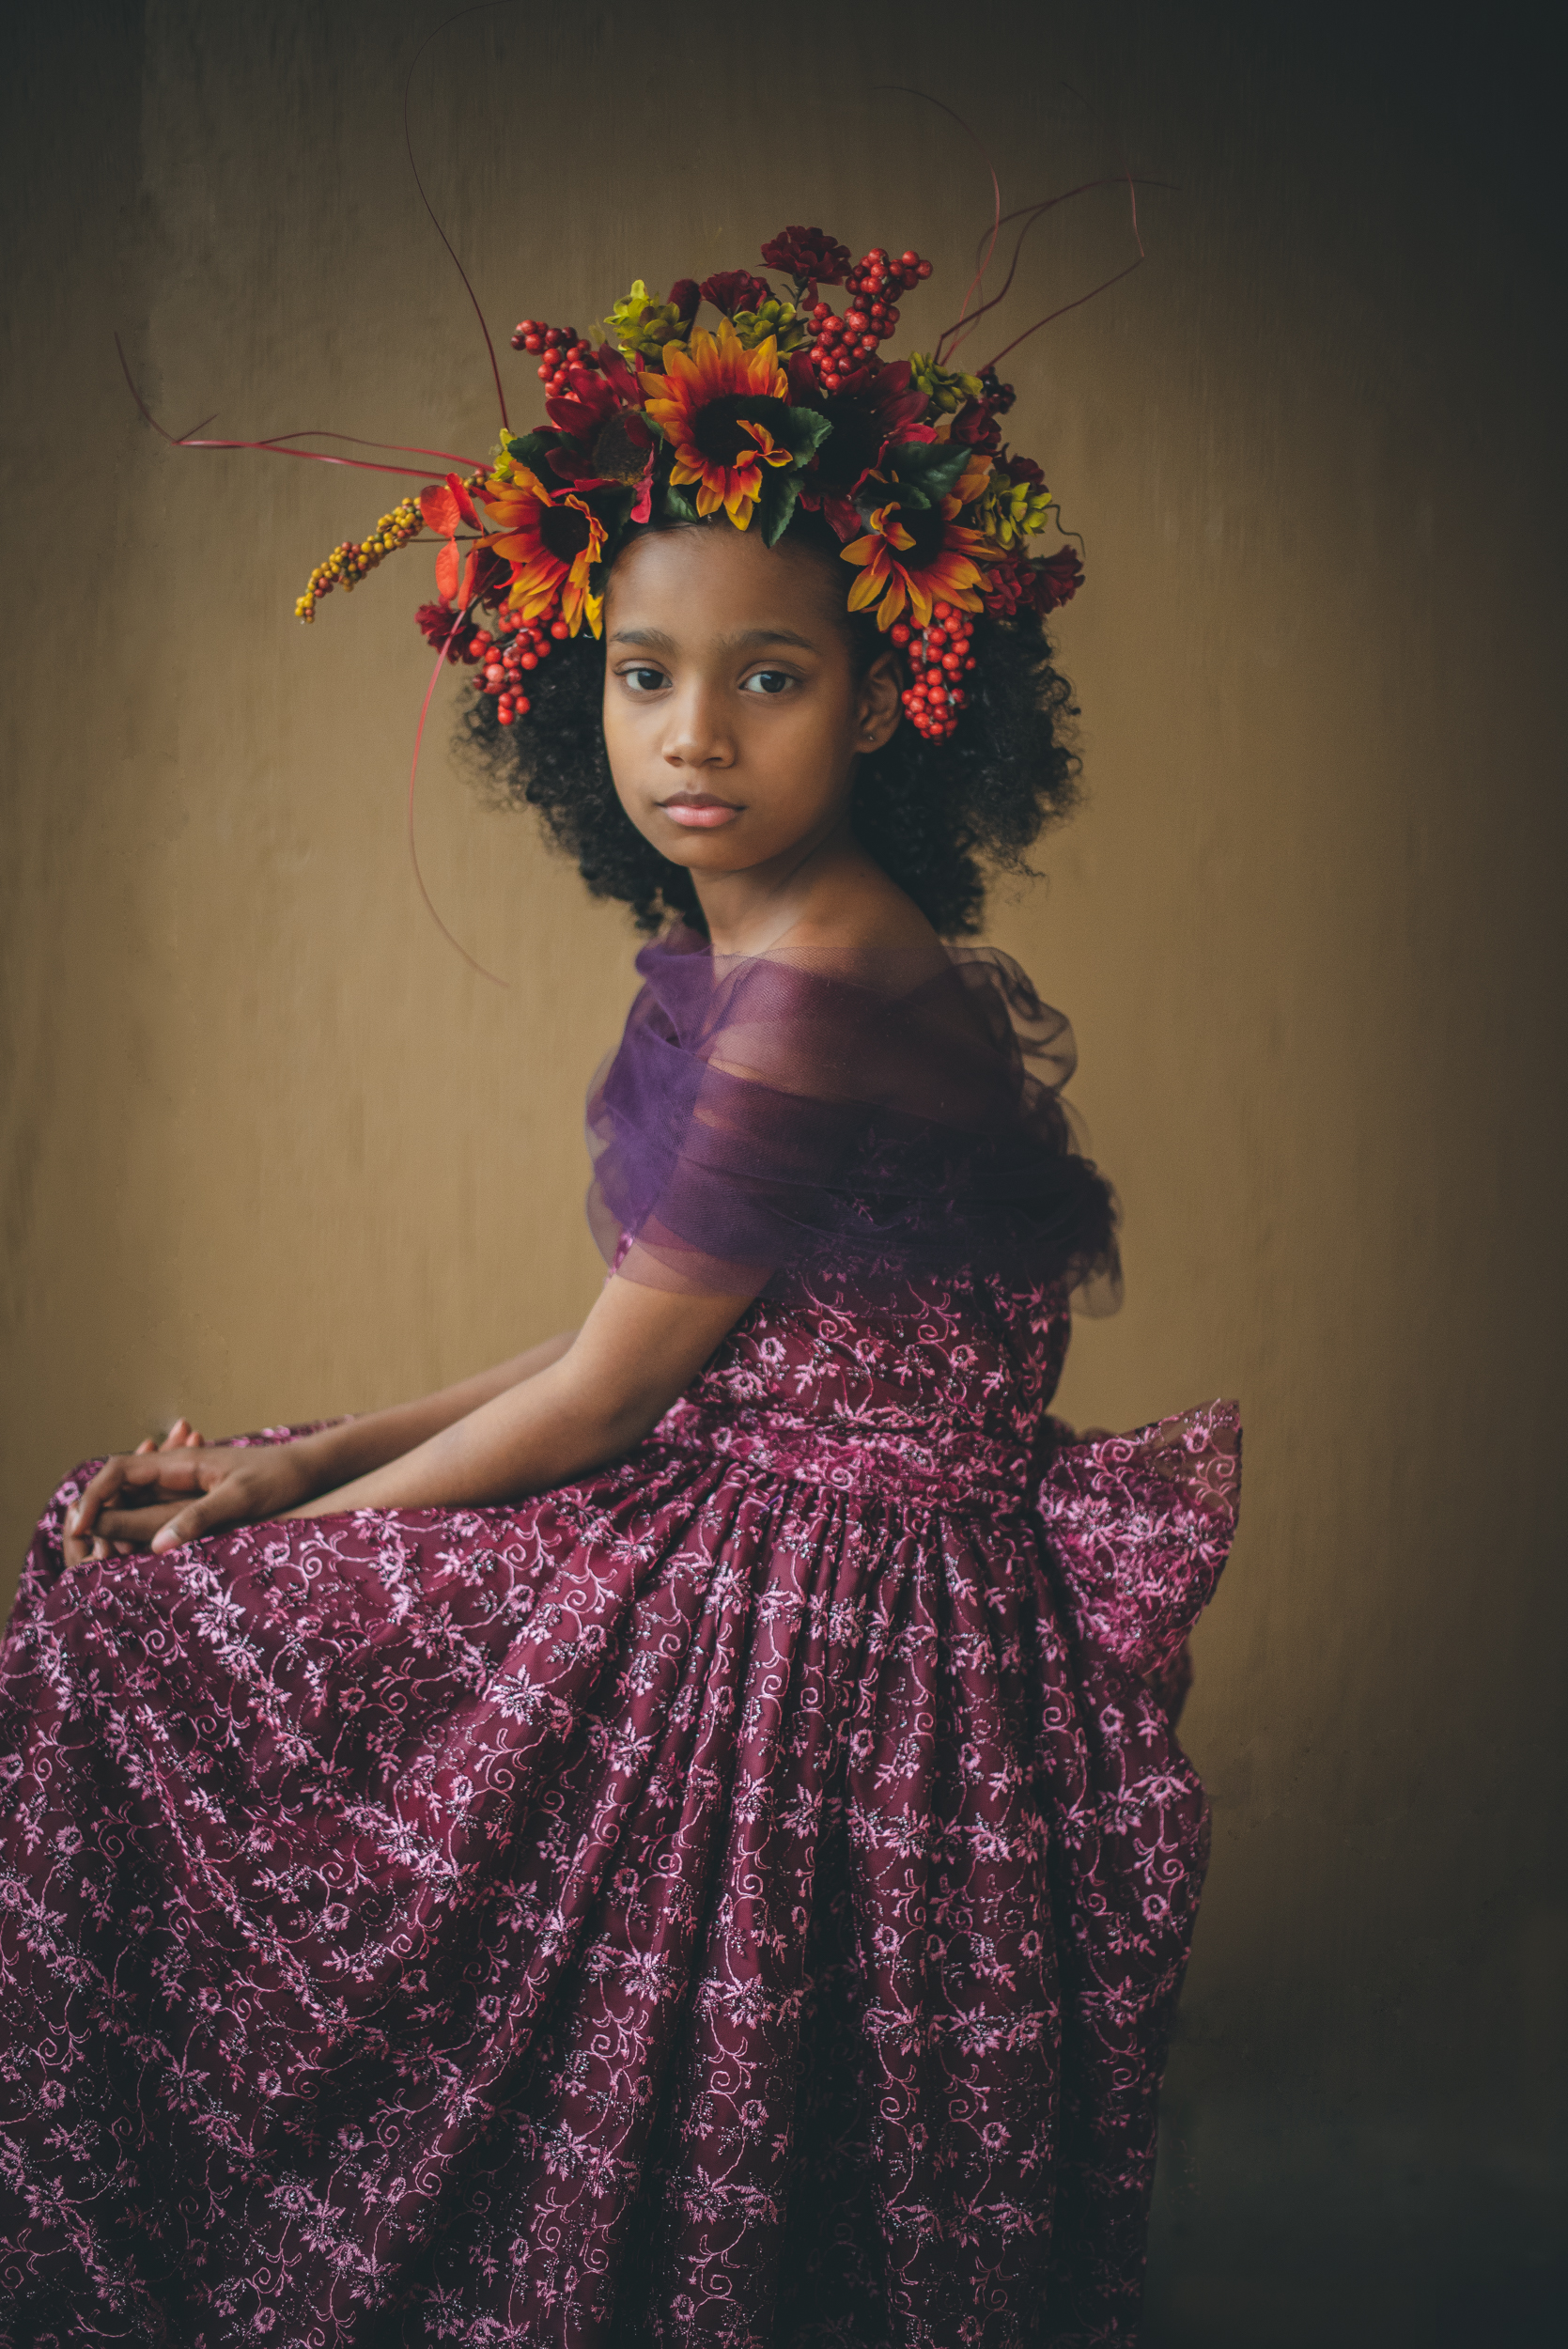
I used this tutorial for the crown. I simply just improvised with what I wanted the crown to look like.
And there you have it! A very simple way to make a dress without breaking the bank. I love for mine to be extra long but it’s your choice. I’m all about the savings so I hunted down a wholesale fabric store around my area and they have the cheapest prices. I’m in Philadelphia and the store’s name is Jomar textiles.
I’m sure that if you look around you might find something in your area. JoAnn’s fabrics is a bit pricey but if you can afford it, give it a go.
I hope you enjoyed this diy post and if you can share it with your photography/crafty friends, it’d be greatly appreciated 🙂
Until next time!